FastAPI 项目打包为桌面应用
参考 7y 记 的视频介绍
主要思路是将使用 pywebview 为 Python 程序构建 GUI,然后使用 pyinstaller 对项目进行打包。可以将 vue 创建的前端打包,然后将打包的前端文件拷贝到 FastAPI 项目的static目录,作为网页模板。
主要涉及到的工具:
- 前端使用 Vue Vite
- 后端使用 FastAPI
- 使用 pywebview 将 Fast API 项目包裹到一个独立的窗口,而不是通过浏览器打开。
- 使用 pyinstaller 将后端的 python 代码打包。
其实,如果不使用 VUE 作为前端,直接将前端代码写到 static 目录也是可以的。
新建一个文件夹FastAPI-desktop,使用 VSCode 打开目录。
将在frontend目录中创建 VUE 项目, 根目录中创建 FastAPI 项目。
VUE 前端
创建前端工程
在根目录FastAPI-desktop下执行如下命令使用 vite 创建 vue 项目,
# 需要安装node
npm init vite
# 选择vue, 选择js
修改vite.config.js
import { defineConfig } from 'vite'
import vue from '@vitejs/plugin-vue'

// https://vitejs.dev/config/
export default defineConfig({
  // 打包文件生成路径前带上/static
  base: '/static',
  plugins: [vue()]
})
安装依赖并打包前端
npm i
npm run build
将打包文件夹dist的内容复制到根目录static下
FastAPI 后端
创建虚拟环境
python -m venv venv
使用 VS code 打开文件夹,激活虚拟环境,安装相关包,创建main.py,创建一个static文件夹。
# main.py
import os.path

from fastapi import FastAPI
from fastapi.staticfiles import StaticFiles
from fastapi.responses import FileResponse

app = FastAPI()

static_file_abspath = os.path.join(os.path.dirname(__file__), "static")

app.mount("/static", StaticFiles(directory=static_file_abspath), name="static")


@app.get("/")
def index():
    return FileResponse(f"{static_file_abspath}/index.html")


if __name__ == '__main__':
    import uvicorn
    uvicorn.run(app)
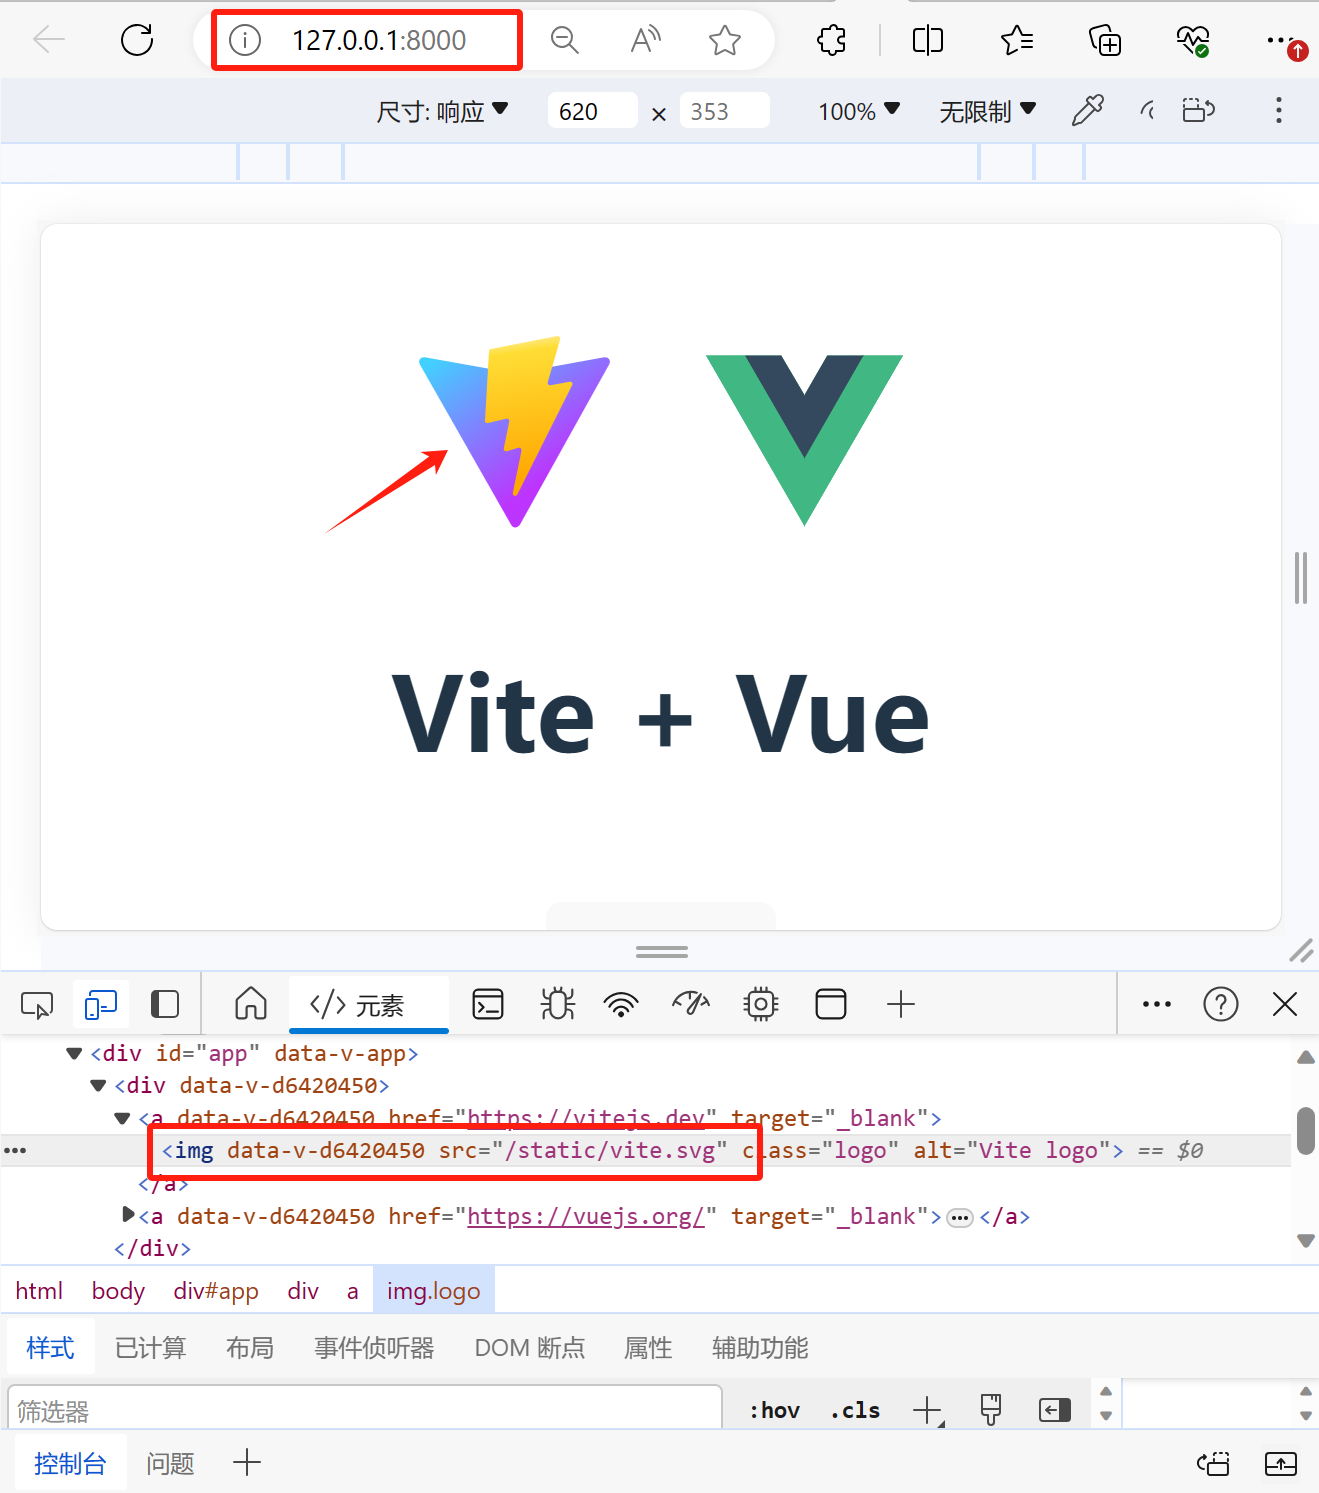
这时候我们已经能打开 FastAPI 项目,并正确显示前端页面内容。
可以看到,正确链接到了静态图片文件。

pywebview 创建应用窗口
创建一个 client.py 文件,用它来启动 FaskAPI,并打开一个应用窗口。
# client.py
import random
import socket
import threading

import webview
from main import app
import uvicorn


def get_unused_port():
    """获取未被使用的端口"""
    while True:
        port = random.randint(1024, 65535)  # 端口范围一般为1024-65535
        sock = socket.socket(socket.AF_INET, socket.SOCK_STREAM)
        try:
            sock.bind(("localhost", port))
            sock.close()
            return port
        except OSError:
            pass


port = get_unused_port()

# 启动FastAPI服务
t = threading.Thread(target=uvicorn.run, args=(app,), kwargs={"port": port})
t.daemon = True
t.start()

# 在PyWebview应用程序中加载FastAPI应用程序的URL
webview.create_window('FastAPI Desktop', f'http://localhost:{port}')
webview.start()
后端的 python 代码打包成可执行程序
使用 pyinstaller 打包 , 先安装依赖pip install pyinstaller==6.2.0
最新版的 6.3,使用-w 或者--noconsole 会报错 win32ctypes.pywin32.pywintypes.error: (225, '', '无法成功完成操作,因为文件包含病毒或潜在的垃圾软件。')
# build.py
from PyInstaller import __main__ as pyi


params = [
    '-F',
    # static目录纳入打包
    '--add-data', 'static:static',
    # 每次打包前清楚build 和 dist目录
    '--clean',
    # 无需用户确认
    '--noconfirm',
    'client.py'
]
# pyinstaller -F main.py
pyi.run(params)
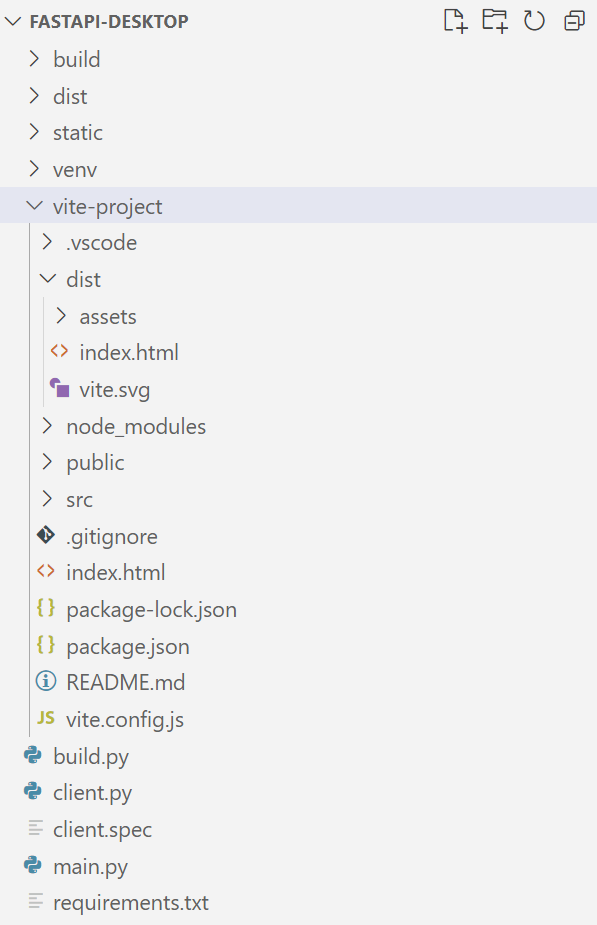
最终项目目录及文件如下:
